Super easy tip for slide animation with Pandoc and reveal.js
2 minute readI found this super easy alternative way to animate your slides with reveal.js that works out of the box with Markdown and Pandoc. Here is how to do it.
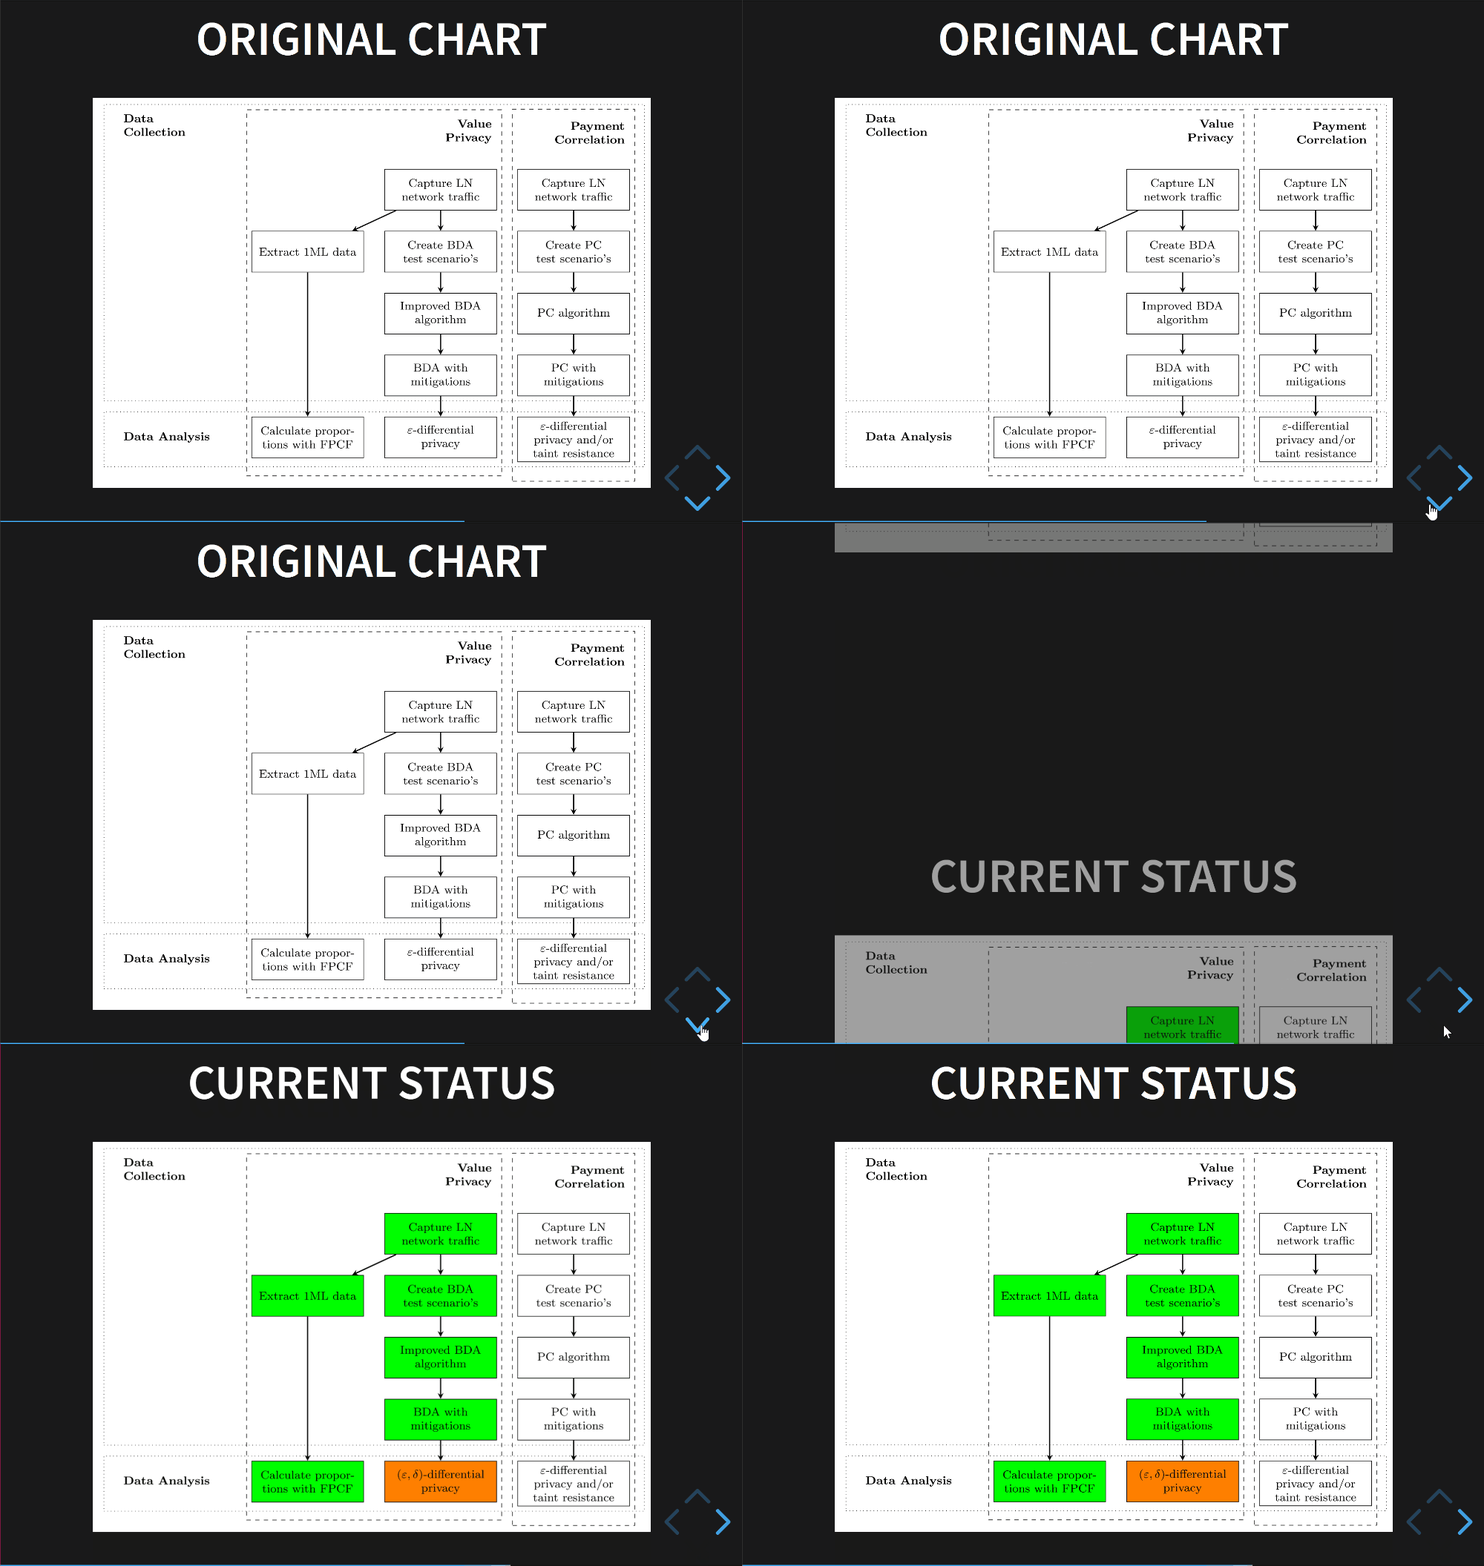
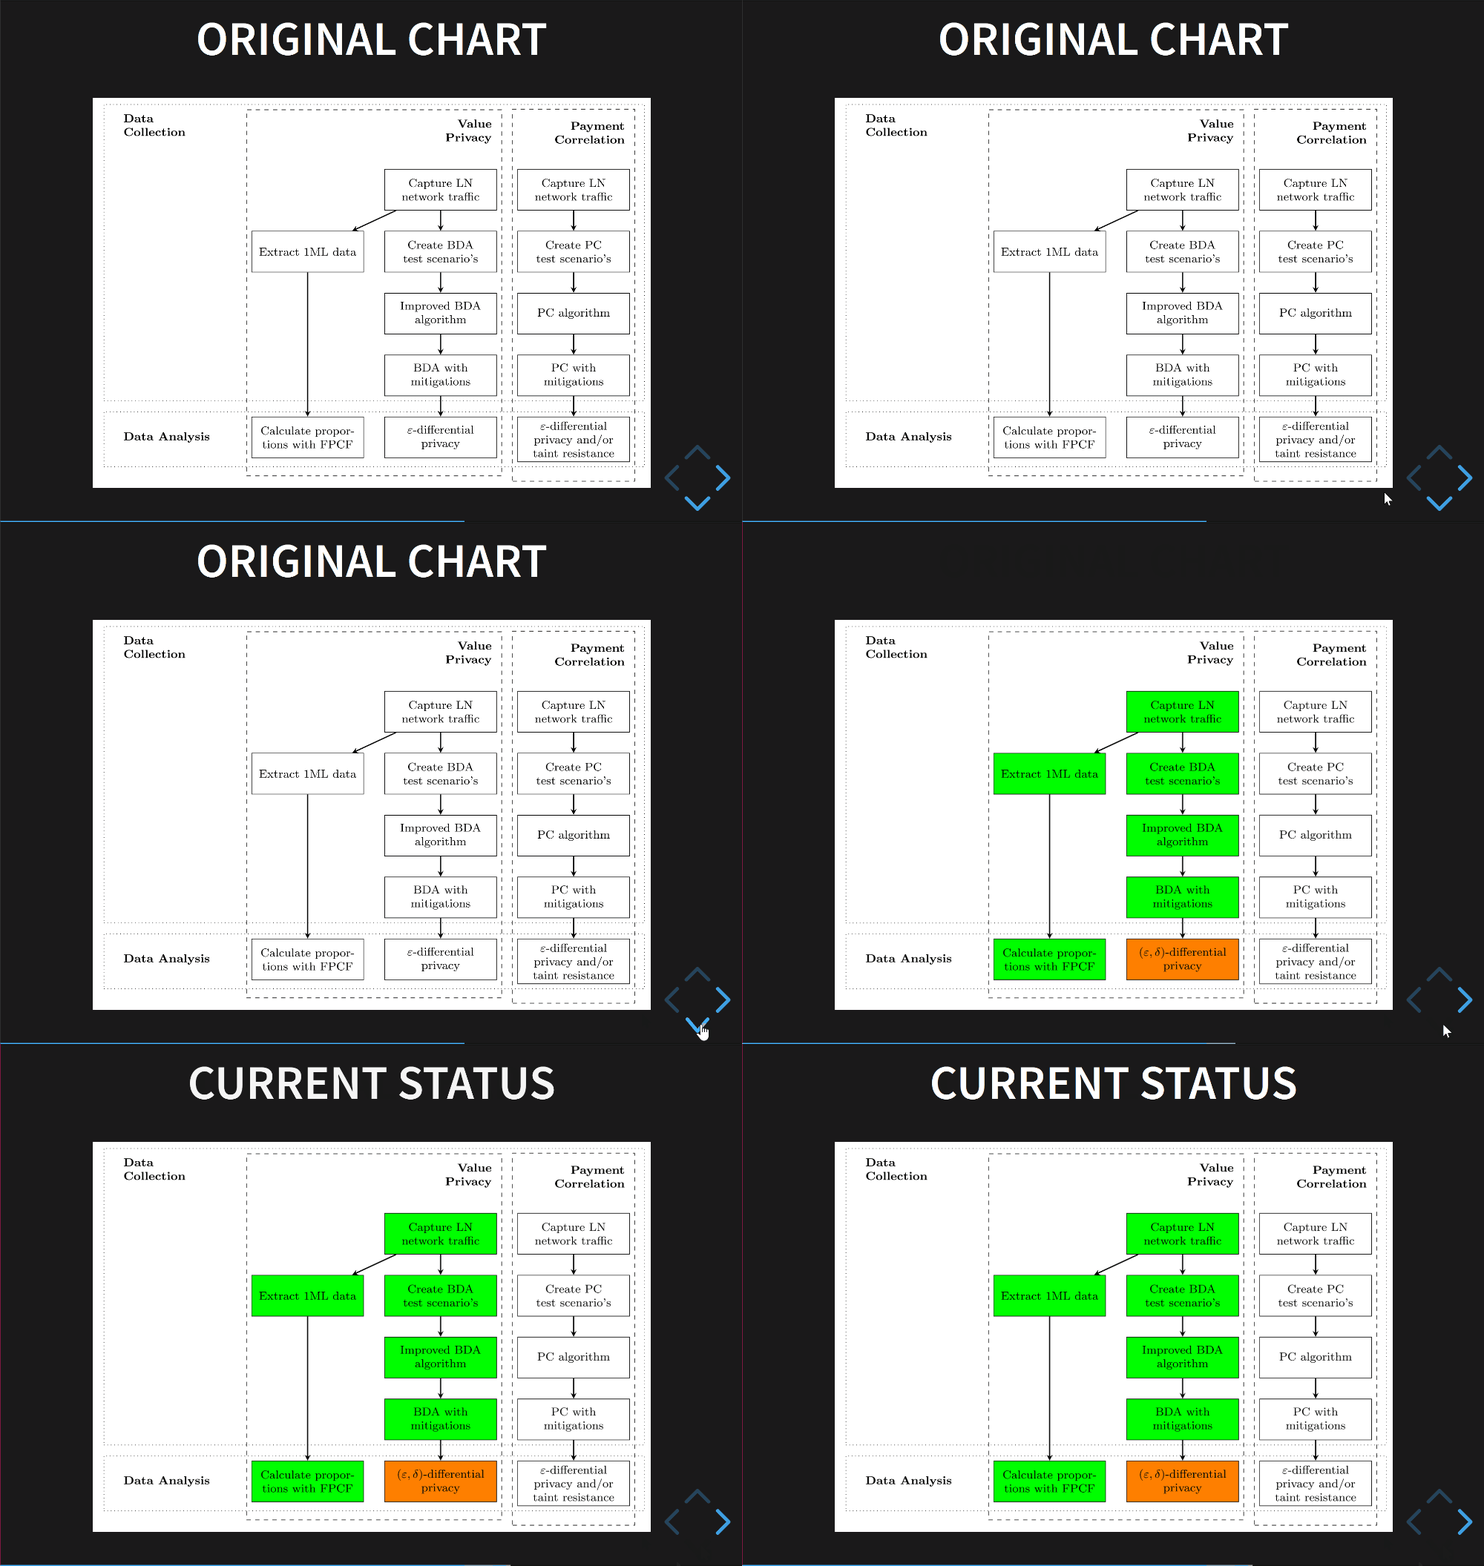
Last week I had to give a progress presentation about the current state of my PhD, and I can whip those up in no time. I use Boilerplate Paper not only for writing my papers, but also for presentations like this.
I write the presentation in Markdown and then convert it to reveal.js. But sometimes you want something else than the default sliding transition that reveal.js provides.

Reveal.js got you covered with auto-animate. It's a feature that automatically finds matching elements between two slides and animates between them. It's nothing too fancy and for me it perfectly fits the job at hand. All you need to do is add data-auto-animate to two adjacent slide <section> elements.
And the beautiful thing is, it works out of the box with Pandoc slides using heading attributes. In Pandoc headings can be assigned attributes at the end of the heading line.
{#identifier .class key=value}In this case we are going to use the key/value attribute to add data-auto-animate to the reveal.js section. Just add {data-auto-animate=} (it needs only the key and no value, but it requires the =) to the end of the slide title, like so:
## Slide 1 {data-auto-animate=}

Slide 1 content

## Slide 2 {data-auto-animate=}

Slide 2 content
And that's it! Once you convert your Markdown into reveal.js the slides are now animated using auto-animate.
